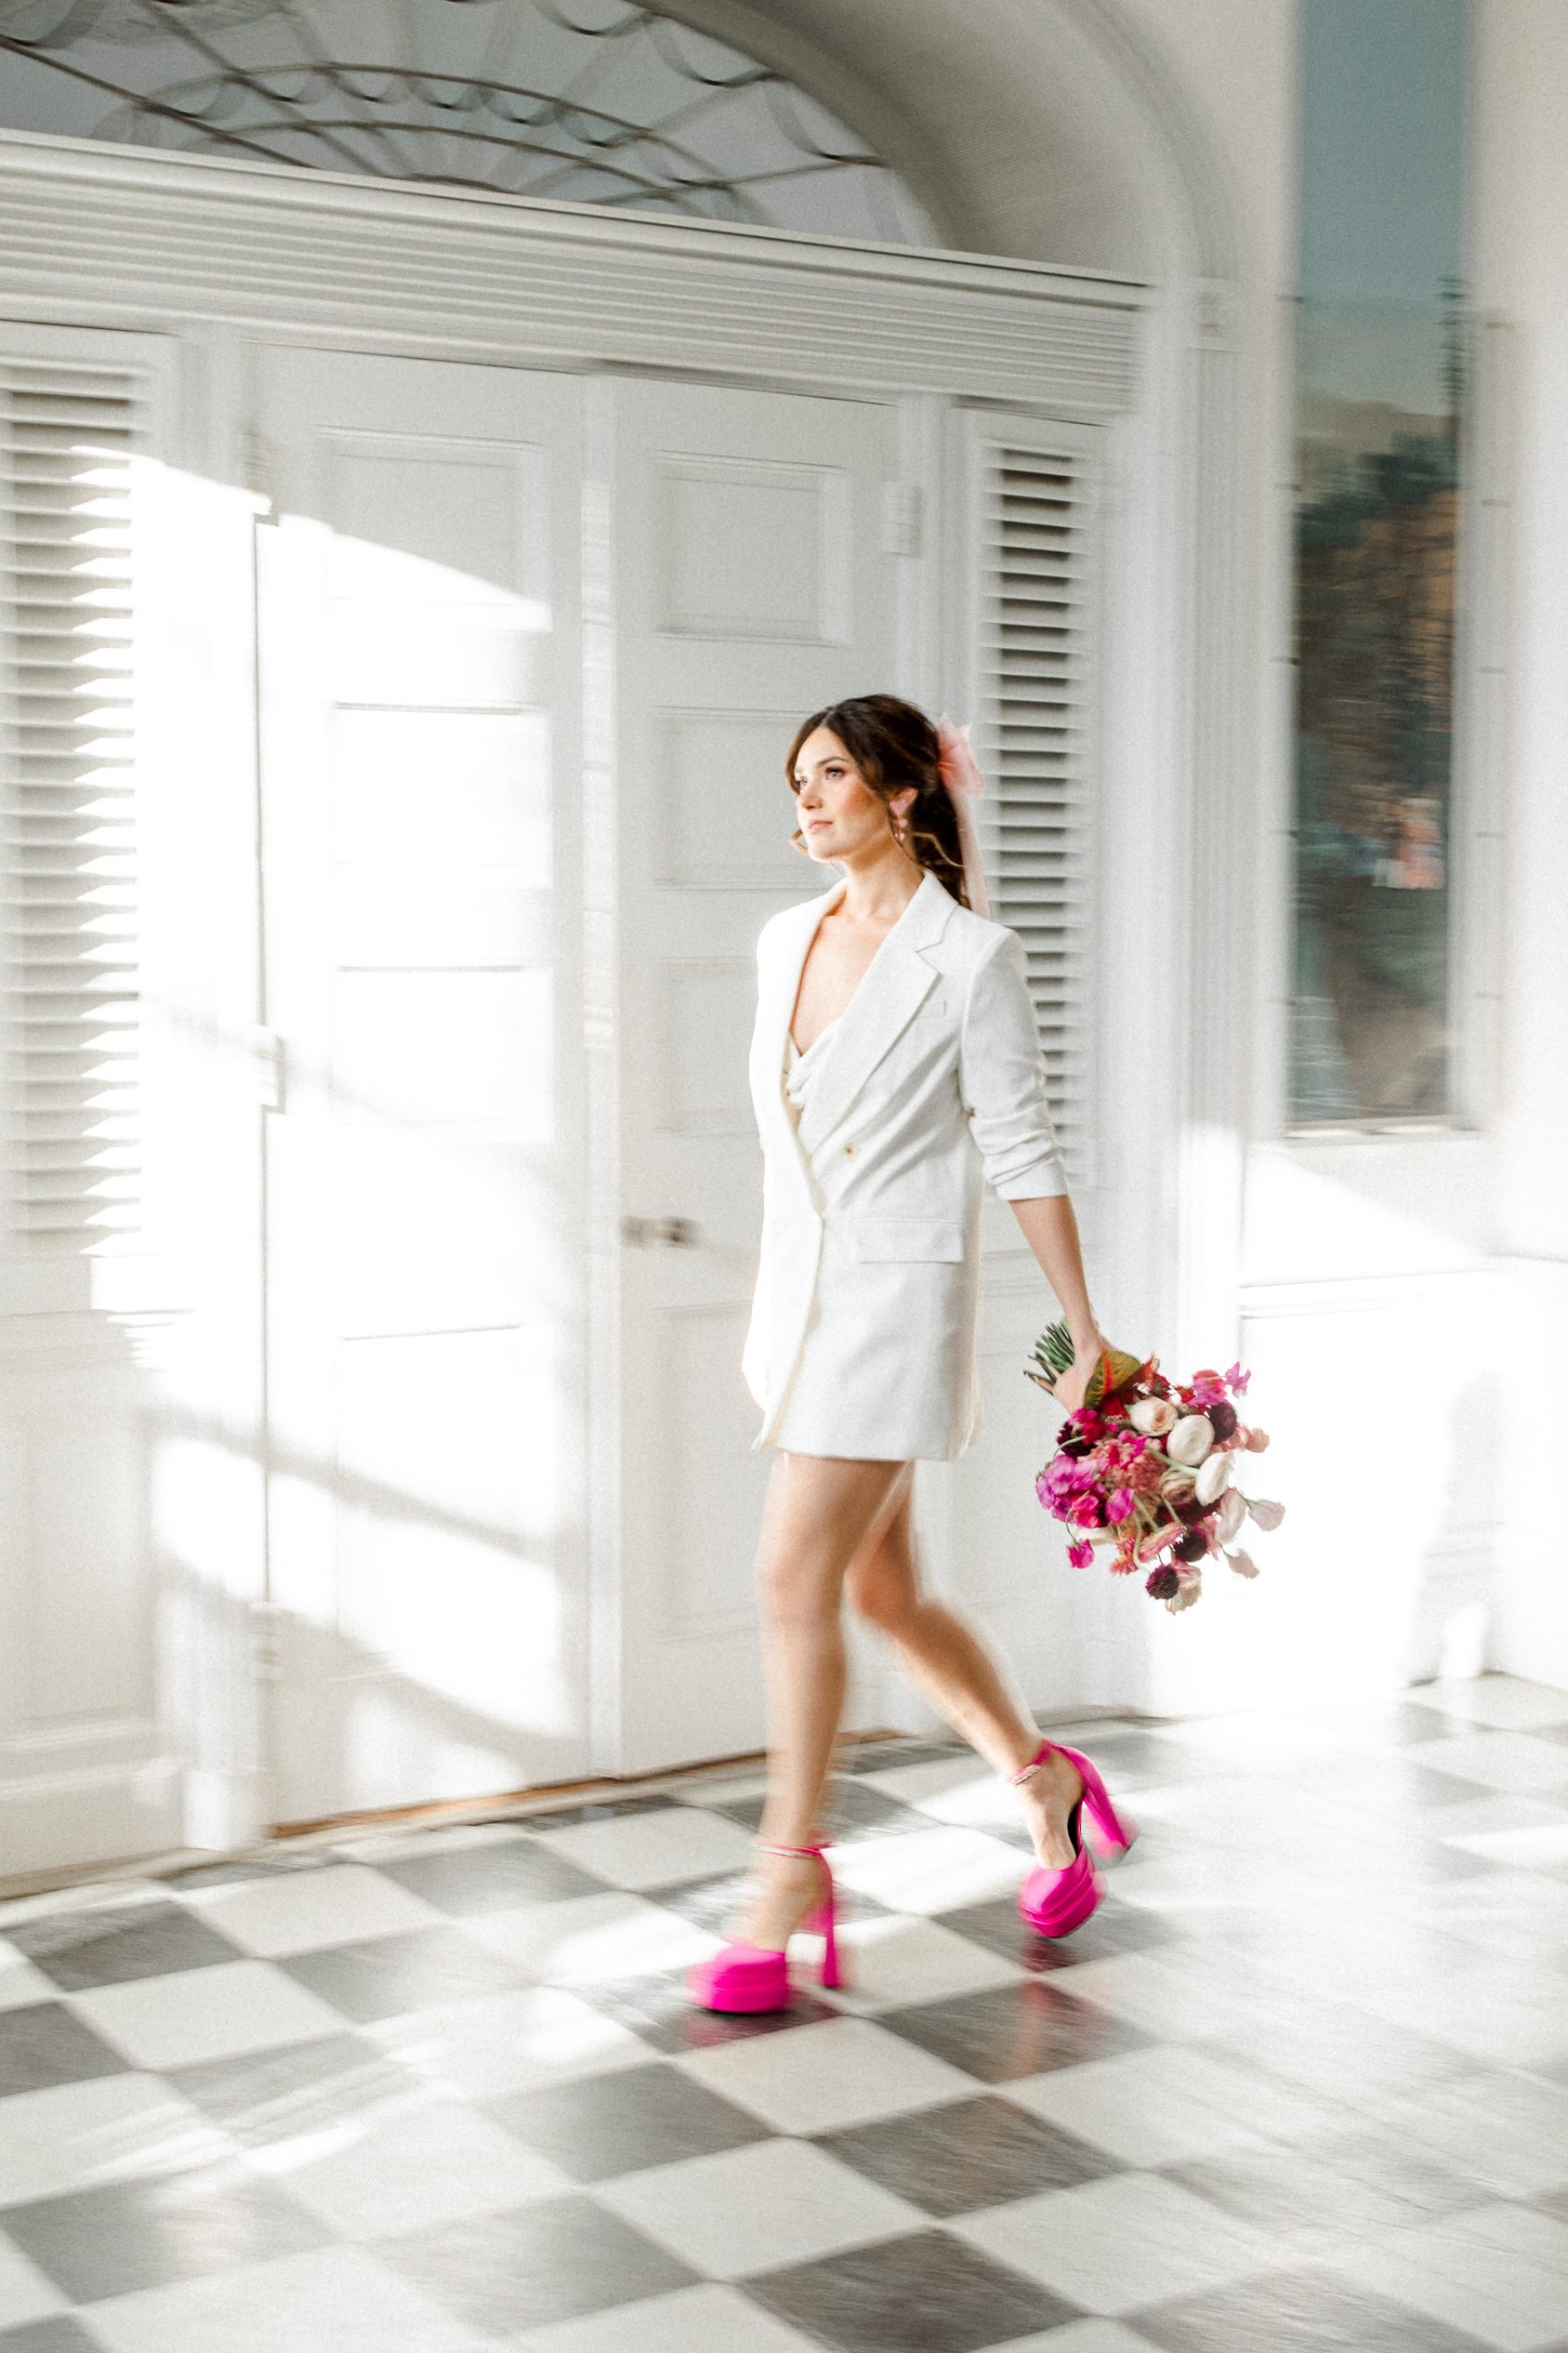
A few weeks ago I decided to try and make a bouquet out of flowers I got from produce junction so I could share my experience with you.
For starters, I am not a florist and while I work with them I’m by no means a professional! and I don’t keep many floral supplies in my office. I am a pretty big DIYer though so I felt okay giving it a go. I also wanted to keep this as if I were a bride trying to DIY my own bouquet. I used what I had on hand and grabbed a few supplies that I knew I would need ahead of time. Read on to see how it went!
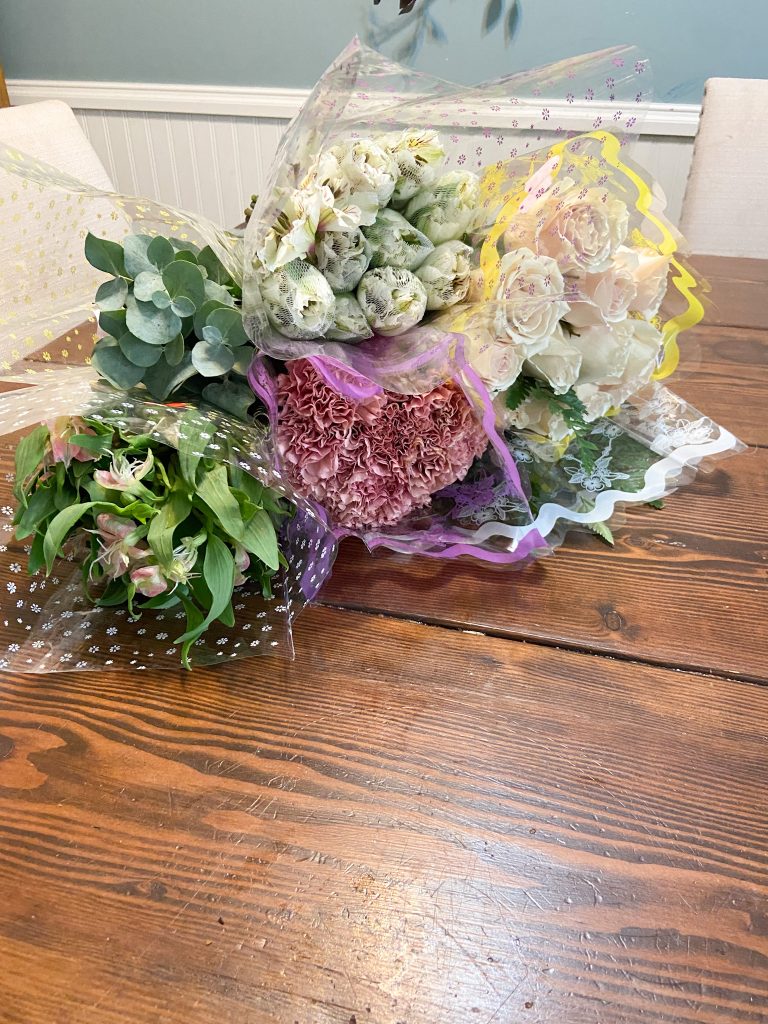
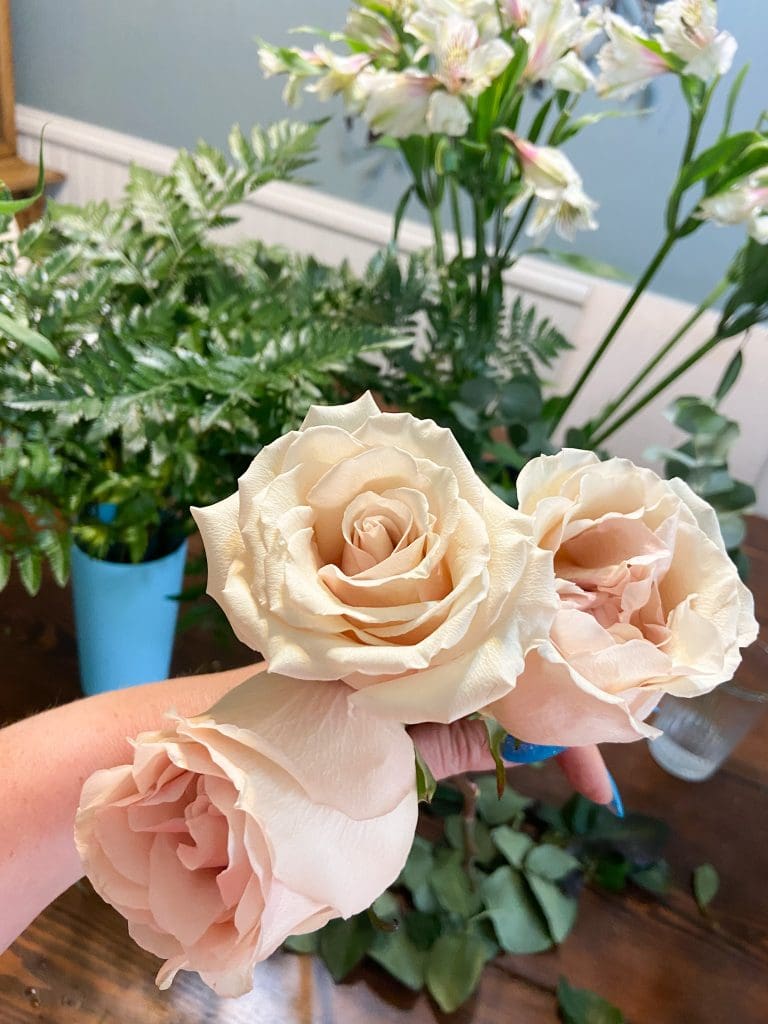
At produce junction, I picked out a few different styles of flowers and some greens. It was about a 20-minute drive home on an 85-degree day so I kept the flowers up front with me and had the air on high to keep them from getting too hot. I purchased 2 types of greens and 4 types of flowers all in a neutral/blush shade.
Total Cost: $28.00
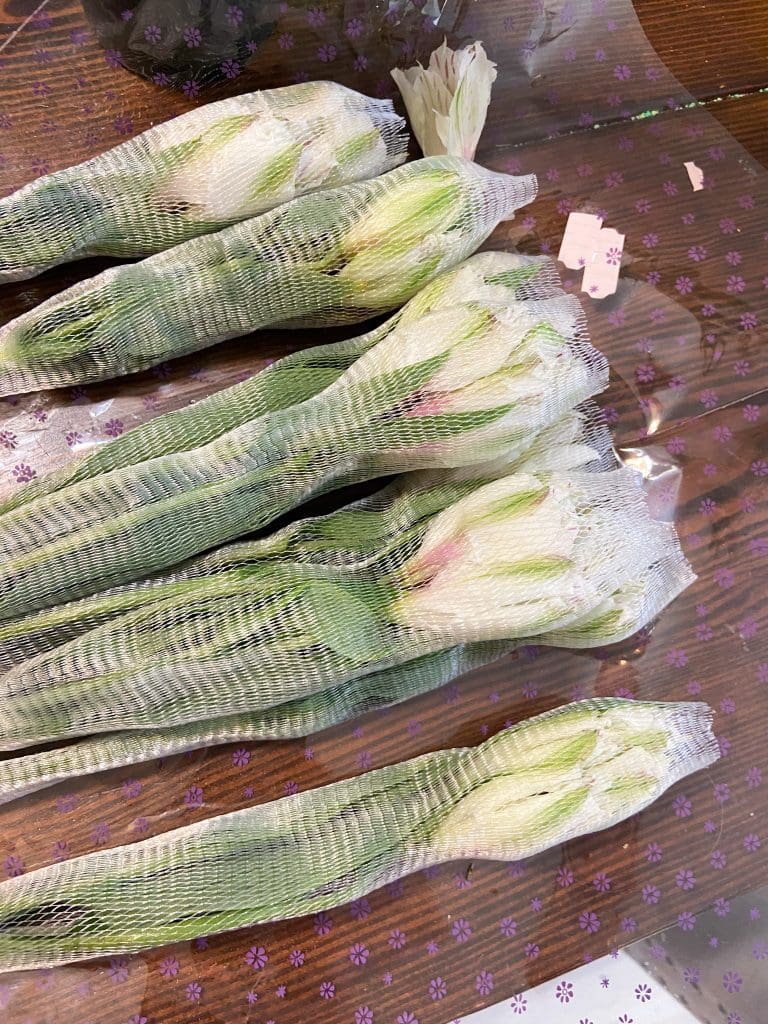
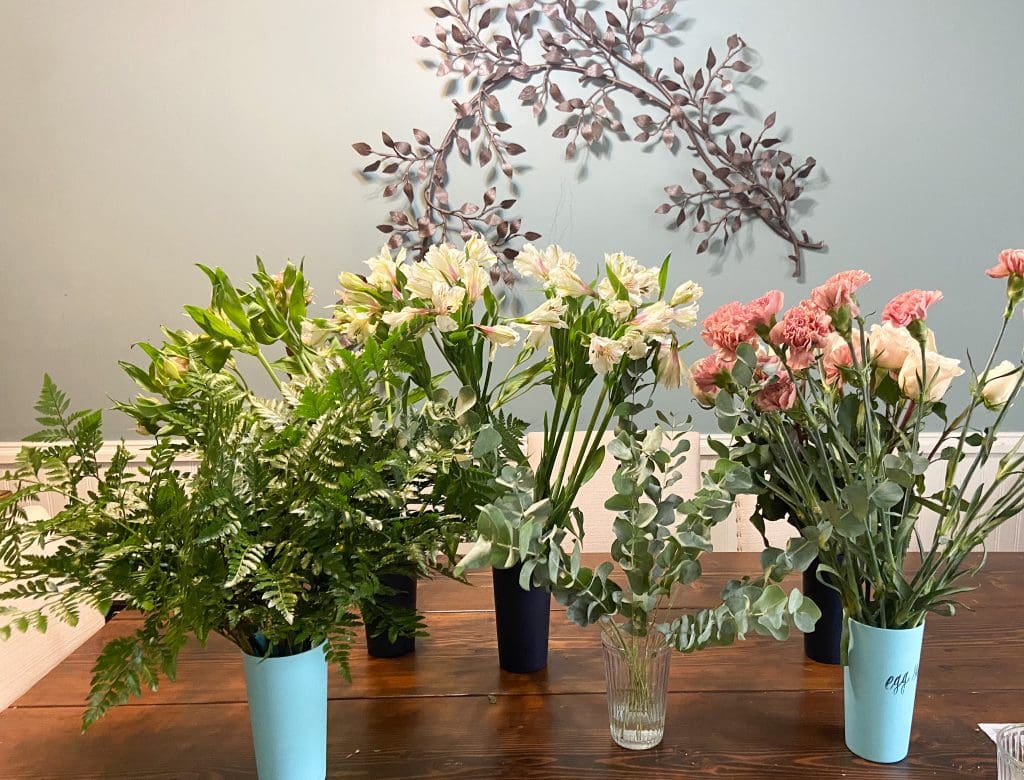
Next up I needed to “process” the flowers. I took them all out of the packaging and removed any dead/dried leaves and petals. There were a few carnations that had seen better days so I tossed those ones too. I trimmed the stems and filled water into 1 cup per each type of flower. I didn’t spend any money here as I used cups I had on hand and I already had clippers from my home gardening. I did this all on my dining room table. When I finished it looked like this-
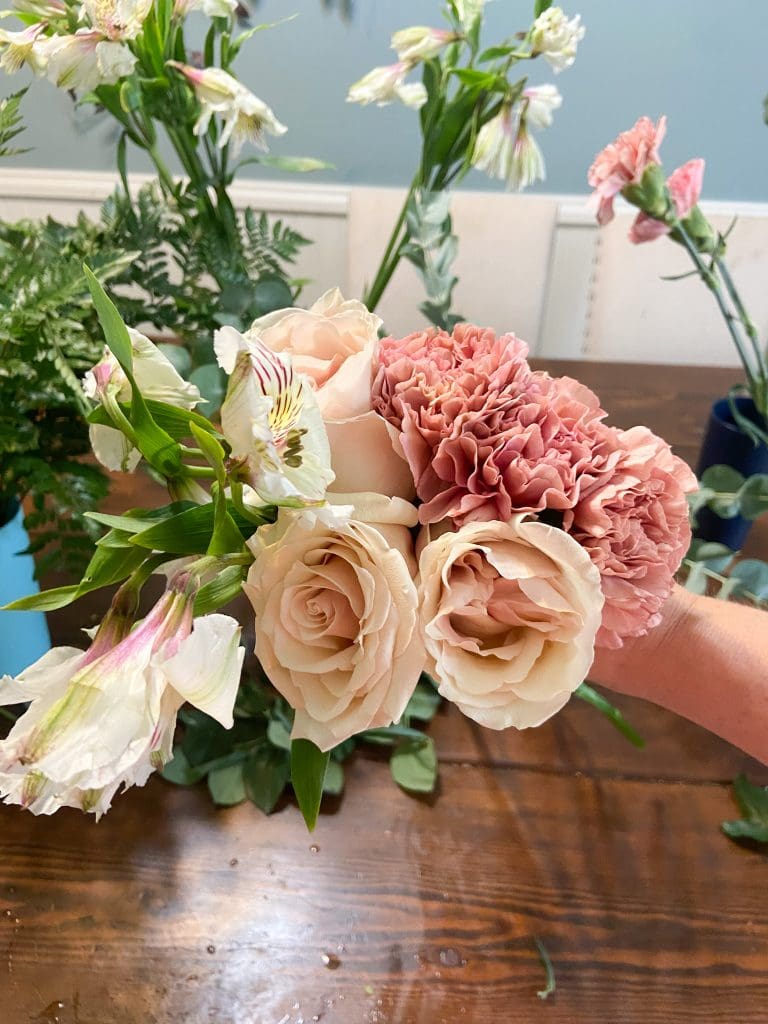
From this point, I started to build my bouquet. There are a ton of tutorials on YouTube, but I basically grabbed a few flowers and started building out from there. I will add that I loosened up my roses a bit by spinning my finger gently inside- this is a pro tip to make them fuller and not so tight looking. Since this was an experiment, I decided to make both a large and small bouquet. You are going to need some supplies here. You will want floral tape and ribbon. The floral tape is what holds the bouquet together and the ribbon you’ll tie on once the bouquet is done.
I did keep a larger cup of water out while I was building the bouquet so I could set it down as needed and design. For the smaller bouquet, I took all the leaves off the stems- I found it easier to hold and work with.
Total Cost: Floral Tape $3.00/Ribbon: $16.00
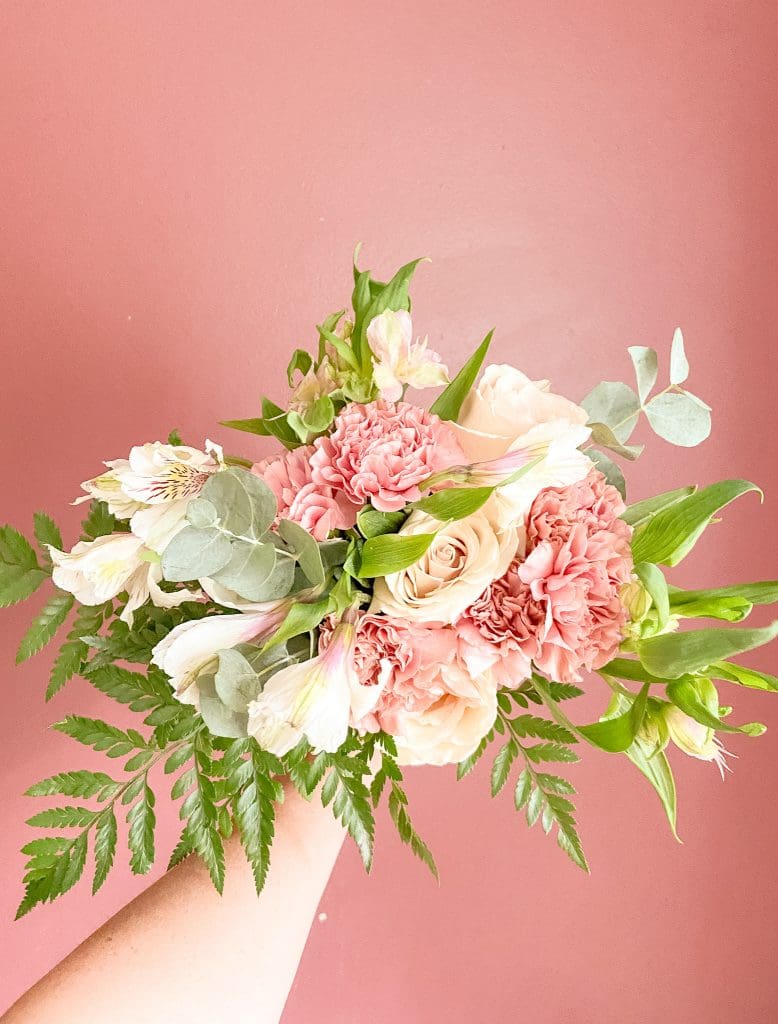
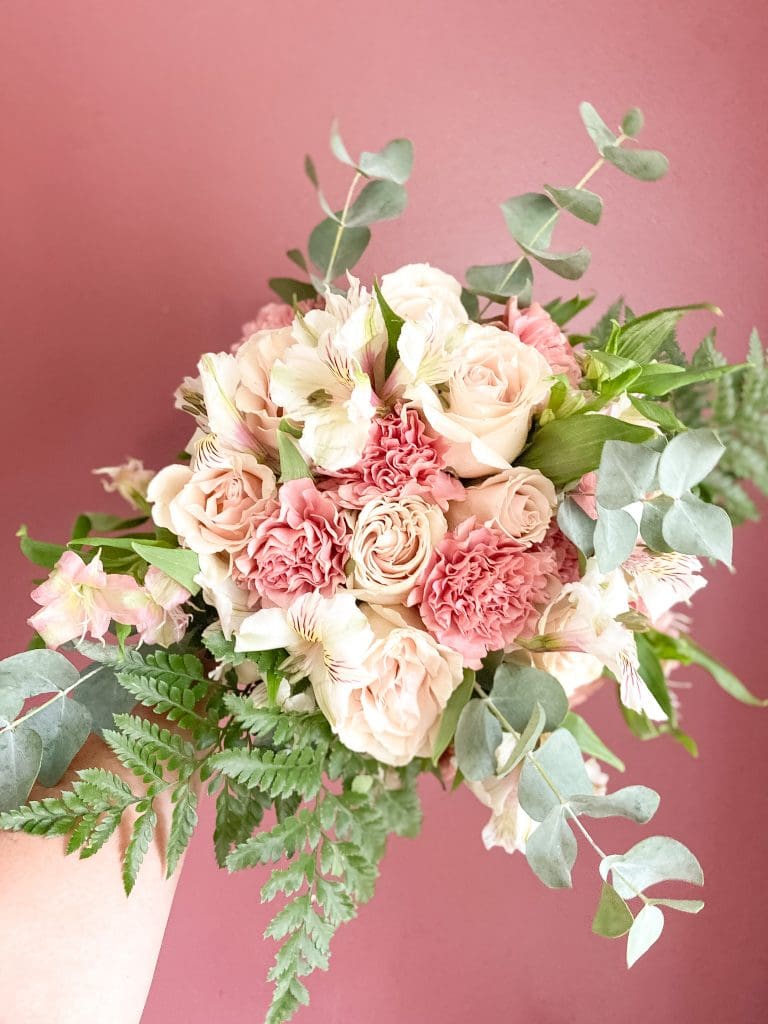
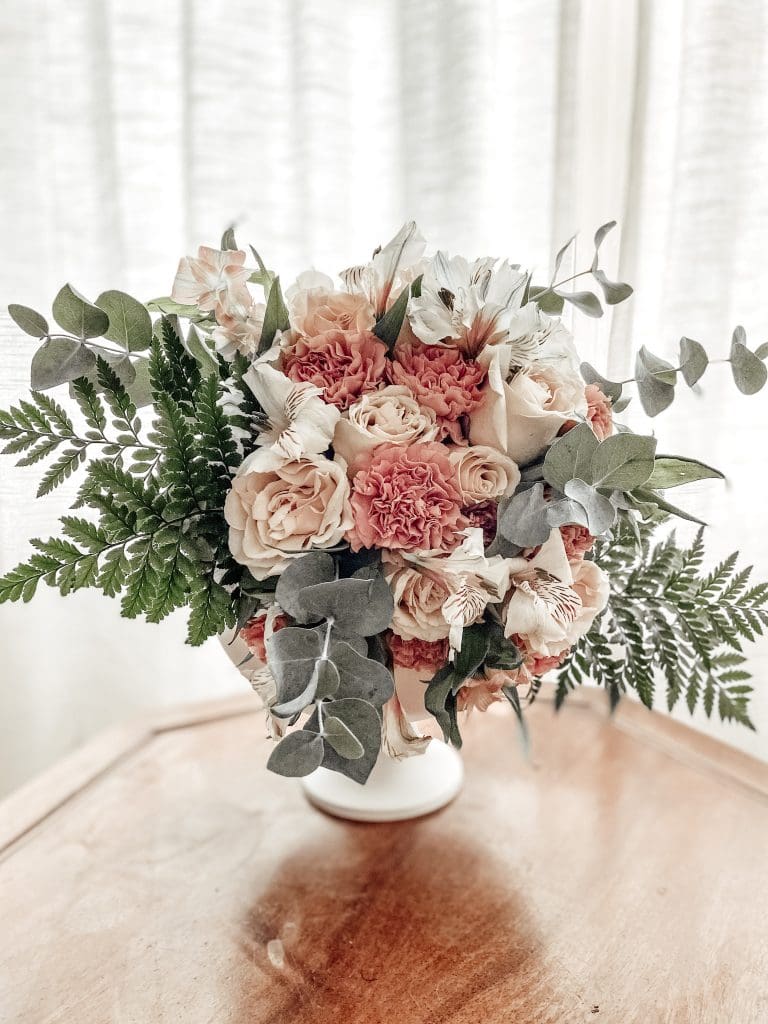
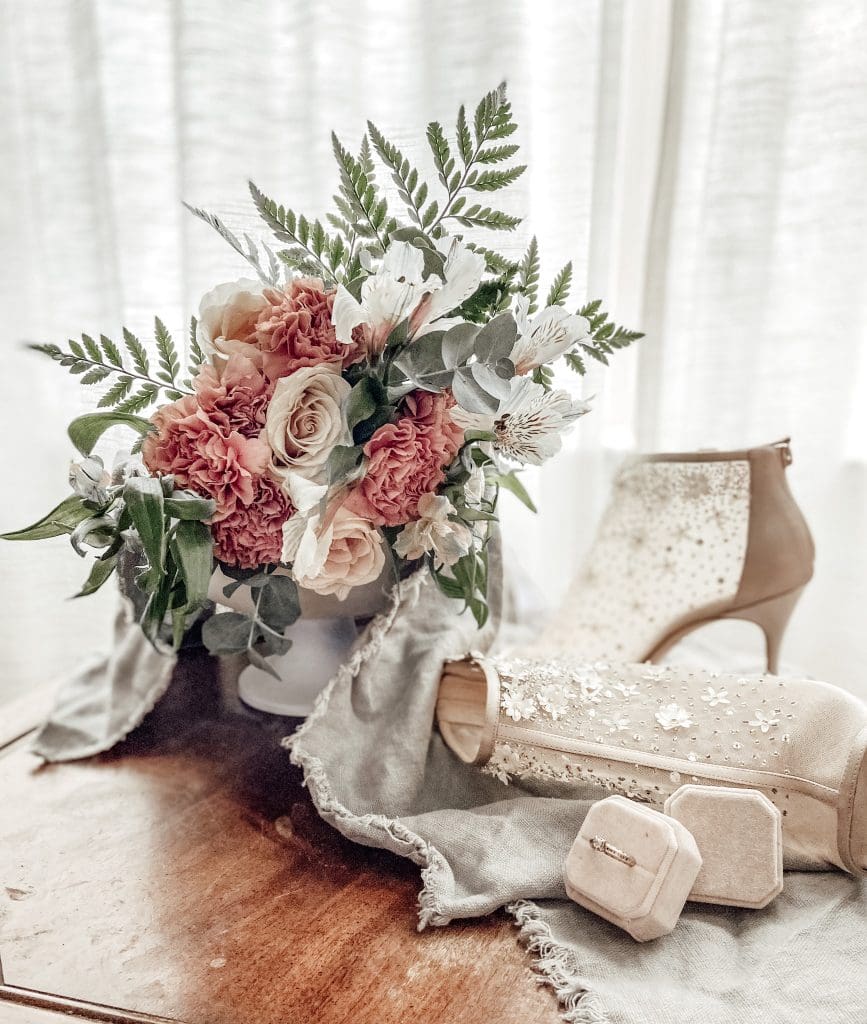
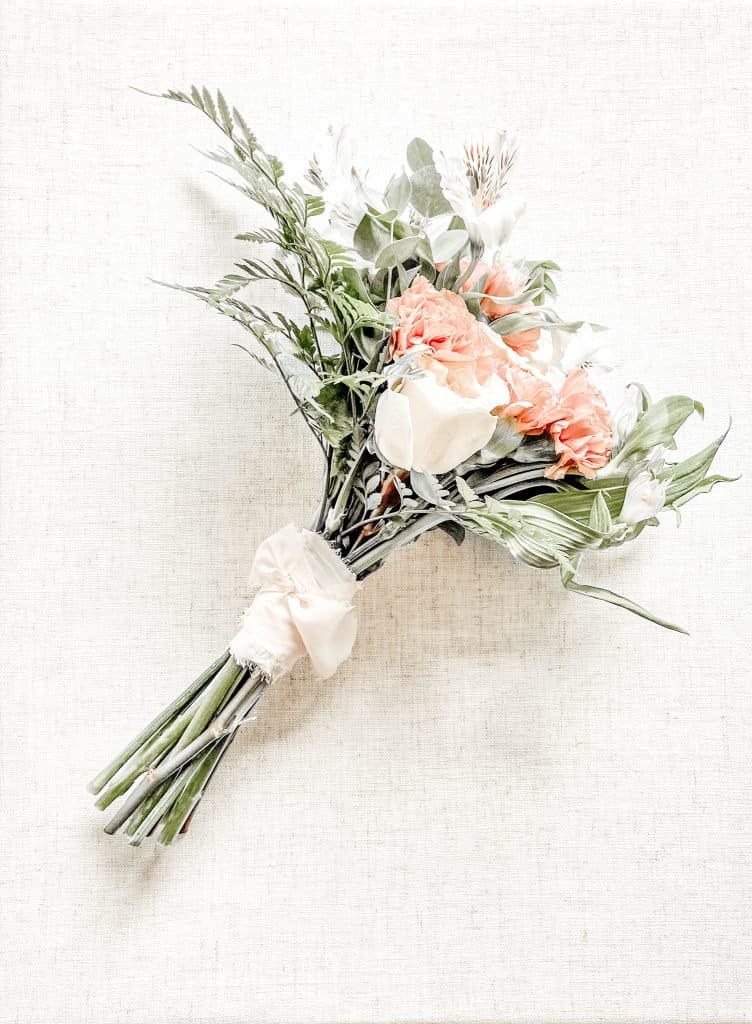
Both bouquets were made using all the flowers I purchased. I didn’t have enough left for a boutonniere but I certainly could have made one if I didn’t do such a larger style bouquet. I would have also needed floral glue and pins which I didn’t have on hand. But as you can see, I was able to make two decent bouquets with a nice variety of greens and florals. I tied the ribbon around the smaller bouquet that I left short but you can keep it longer if you prefer.
Ta-da! Just like we have two beautiful bouquets! But now what? Let’s go over some things I learned from this experience.
1. It’s messy. There will be leaves and petals all over, plus any trimmings. My hands got very sticky from the flowers and greens too.
2. Our cat wanted to check everything out. She tried eating leaves and knocked over one of the cups.
3. I broke a few stems trying to design the bouquets, not a huge deal but I didn’t account for the loss.
4. I had to toss a number of carnations that were bad which was where the majority of my color was coming from.
5. The floral tape took some practice. I found it easier with the smaller bouquet where I took all the leaves off the stems.
Pros:
The flowers and supplies were relatively inexpensive. it cost me less than $50 for everything.
The flowers held up well in the heat test and stayed fresh for a full week in a vase inside.
I liked that I was able to see what I was getting when I picked out the flowers and I didn’t have too many go to waste that couldn’t be used.
I didn’t need a lot of flowers. I was able to do both bouquets with just the few that I purchased. This could easily make two small bouquets and boutonnieres or small bouquets, bout, and a centerpiece.
Cons:
Limited color options. When you’re buying from a produce center or most public flower shops, you get what they have. I went with a neutral/blush color mainly because I had to. Otherwise, the bouquets wouldn’t have had a consistency of color which was important to me.
Limited flower options. If you go in expecting peonies and poppies you’re going to be disappointed. Unless you’re going to a large floral supplier that’s open to the public, you’re looking at a lot of roses, carnations, and baby’s breath- at least this time of year. Just like colors, they only get what they get so not a huge variety.
Time. From process to finish it took me about an hour and 15 minutes for both bouquets. Once I got the hang of it, I probably could have gone faster.
Storage. I feel like this is the hardest part because you’re going to have to store the flowers. If you have an additional fridge it makes it easier but you really want to clear it out as certain flowers don’t mix with fruits/veggies. 1 or 2 bouquets and a boutonniere wouldn’t be bad but any more than that you’re running out of room in a standard fridge.
Freshness. While I was lucky to get the flowers I did, this isn’t always the case. Most of the time those flowers have been sitting already for days when you buy them. Add in a hot day outside and they may start to wilt quicker.
When Do I Suggest This?
Based on my experience, I would say doing your own flowers would be best suited for an engagement session or elopement if DIY is your thing. Something where you do not need a lot of flowers or time or storage. This is an easy and inexpensive way to make a bouquet for your engagement photos if you like that look (we do!) or an elopement where you just need florals for yourself and your spouse. Even if you purchased double the flowers, you’re still under $100 and can make a centerpiece or MOH and best man flowers to go along with yours.
When Do I Not Suggest This?
Large weddings, weddings with multiple people in the bridal party. Also if you never do any DIY projects don’t start it with flowers! For me, I say it’s just going to be way too much when you already have a wedding to host. The last thing you want to do is attempt it and then realize you can’t get everything done. Then you risk wasting the flowers and end up paying a professional florist. From start to finish, both bouquets took me an hour and 15 minutes. You’re looking at a full day or two designing and then you have to store them before the big day.
Did you DIY your wedding flowers? Let us know in the comments below!